Easy Fringe No sew Fleece Blanket Long Pull Through Fringe

More Intermediate sewing on https://www.sewmorewithkitty.com
This is the method where you slip the fringe through the top of itself. THIS IS NOT QUICK!.
Easy you can do while watching a movie.

I used this template purchased at GSTREETFABRICS where I work a few days a week. One piece of patterned fleece one piece of solid fleece the same size and a rotary cutter and this template. You also need a self-healing matt so you don't cut through to your table or bedspread etc. You can see here I have a folded cardboard tabletop with a self-healing mat and then the two fabrics I am cutting.
First lay your two fabrics on top of each other and make sure they are cut to the same size.
Second cut out a five inch square corner on all for corners

Cut out the corners out in this case 5 "
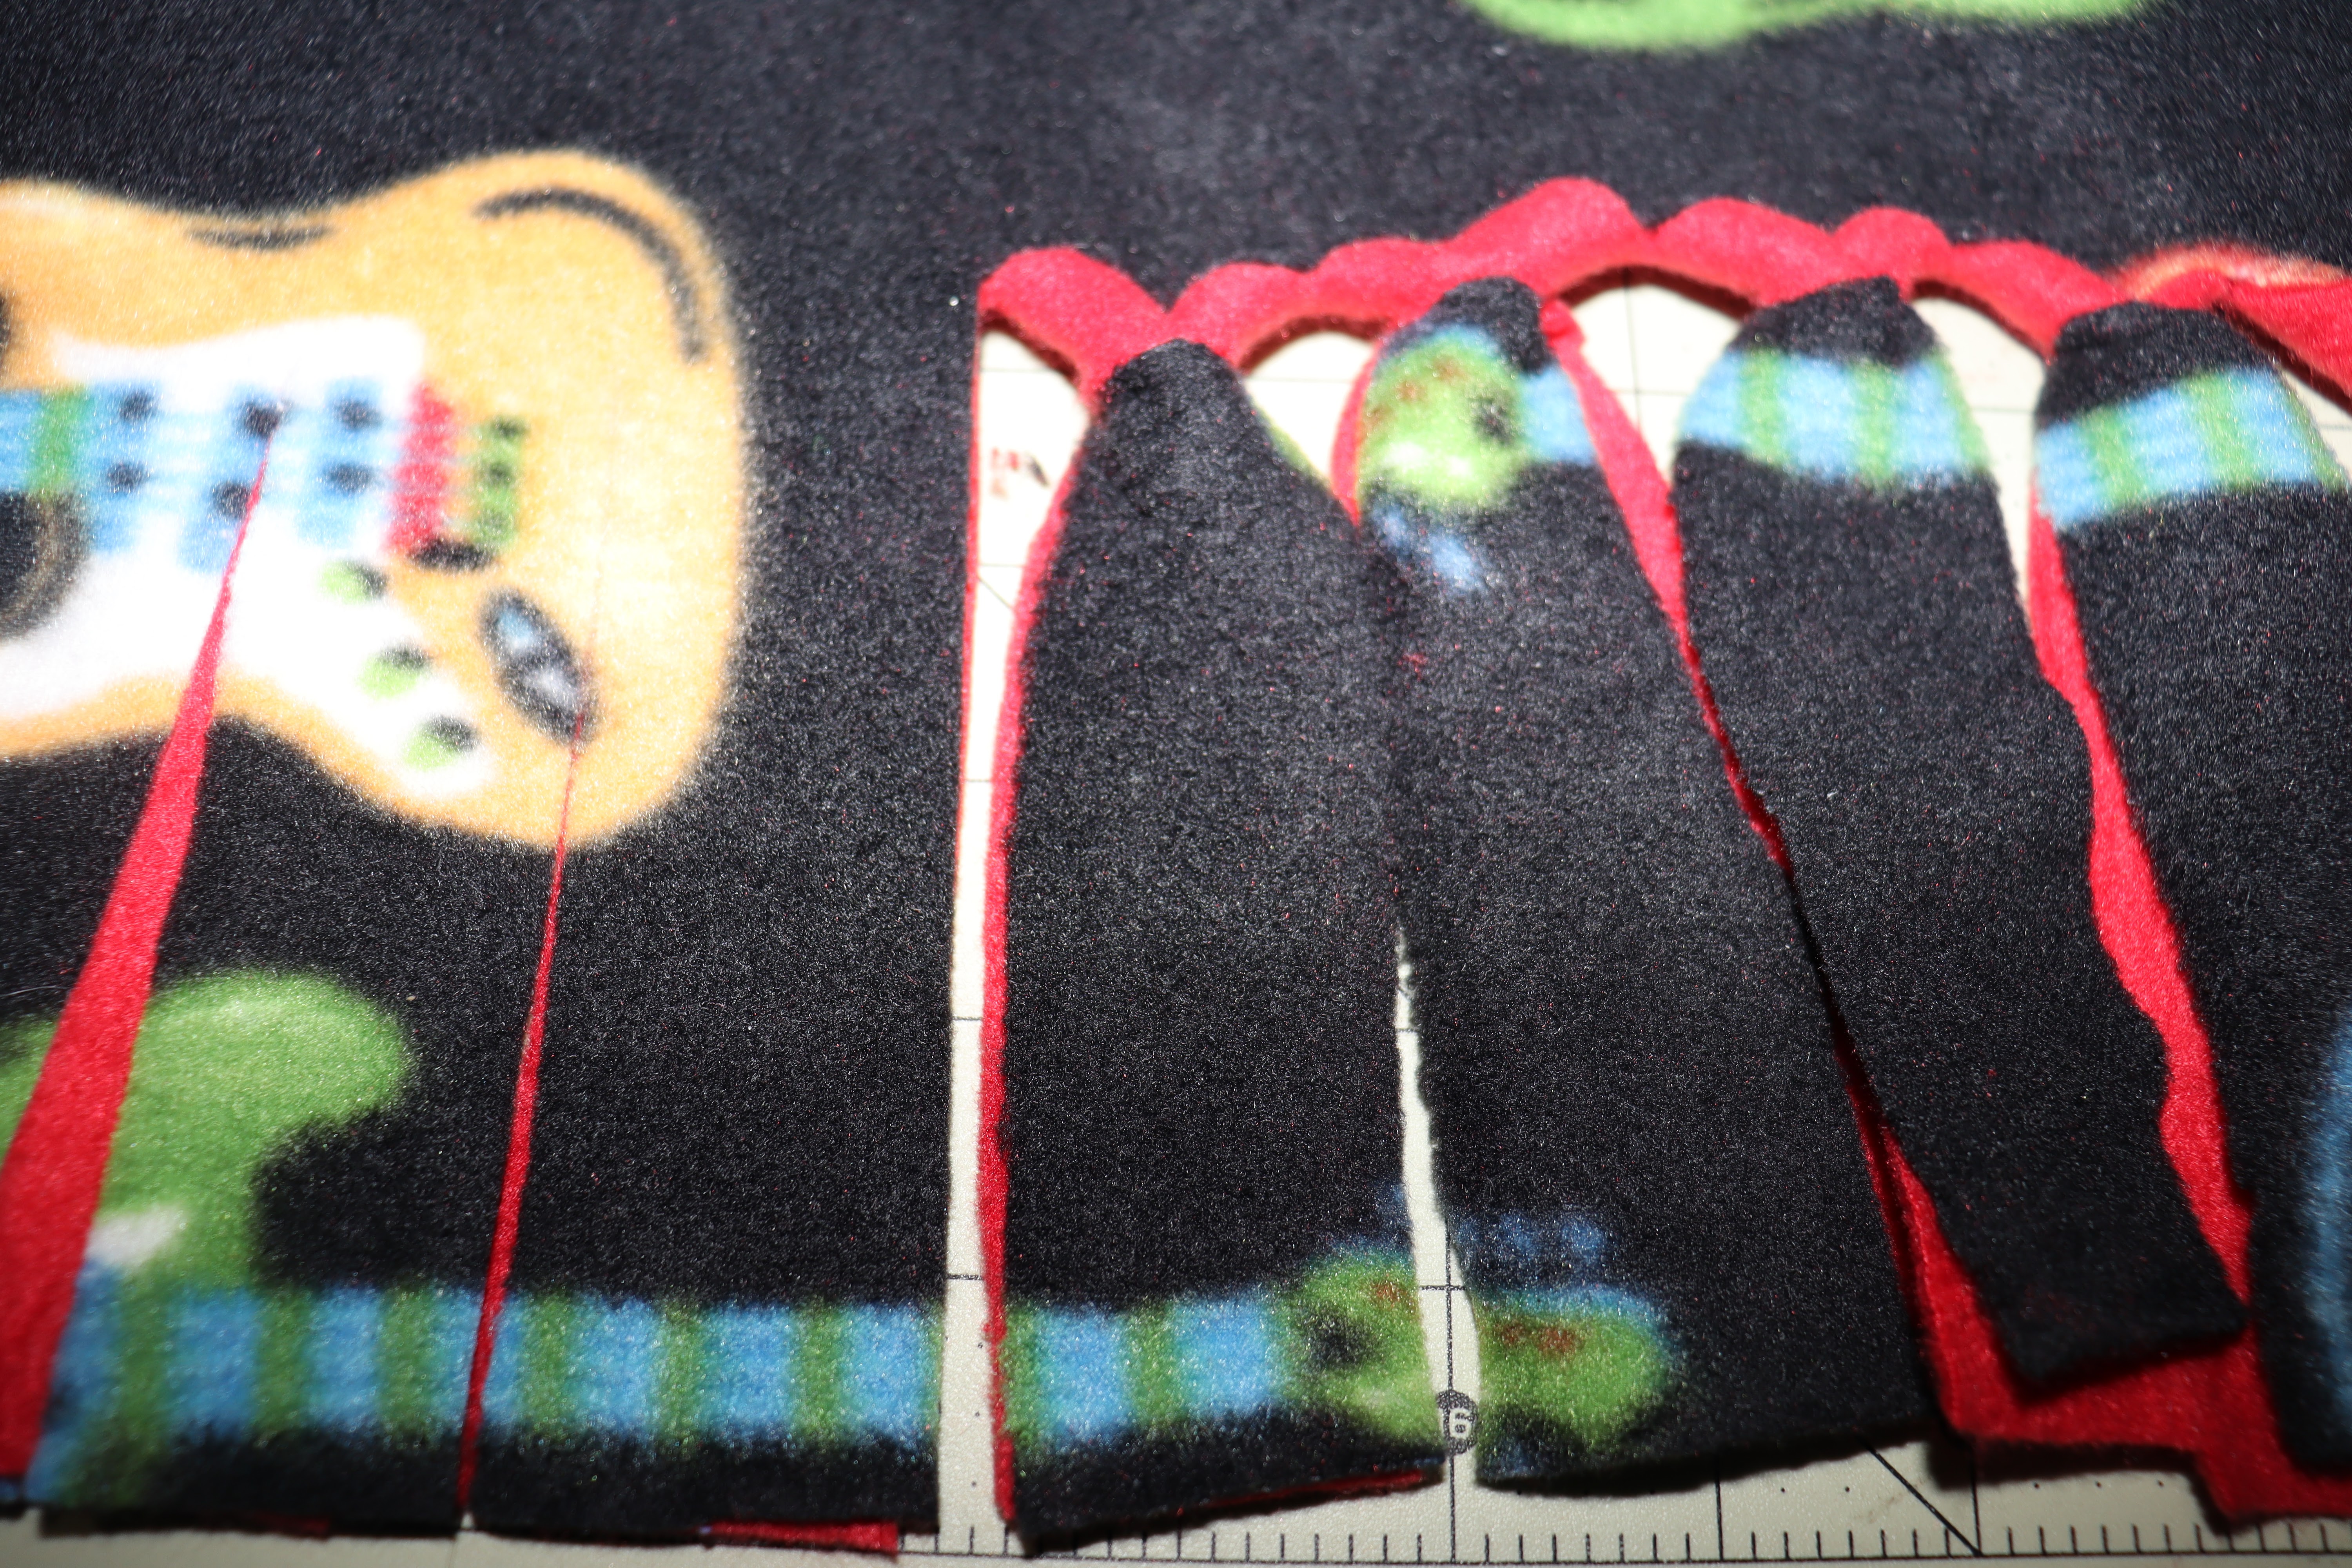
Cut the Strips 1 1/2 wide or 3 slots in Fringe cutter 5" in

Poke a hole with your Seam ripper slightly elongated to allow to pull the corner through.
In this case I made the fringe strips 1 1/2 inch wide. That was 3 spaces on the slot cutter fringe helper. But this way I can just do it and know they are all going to be the same size.
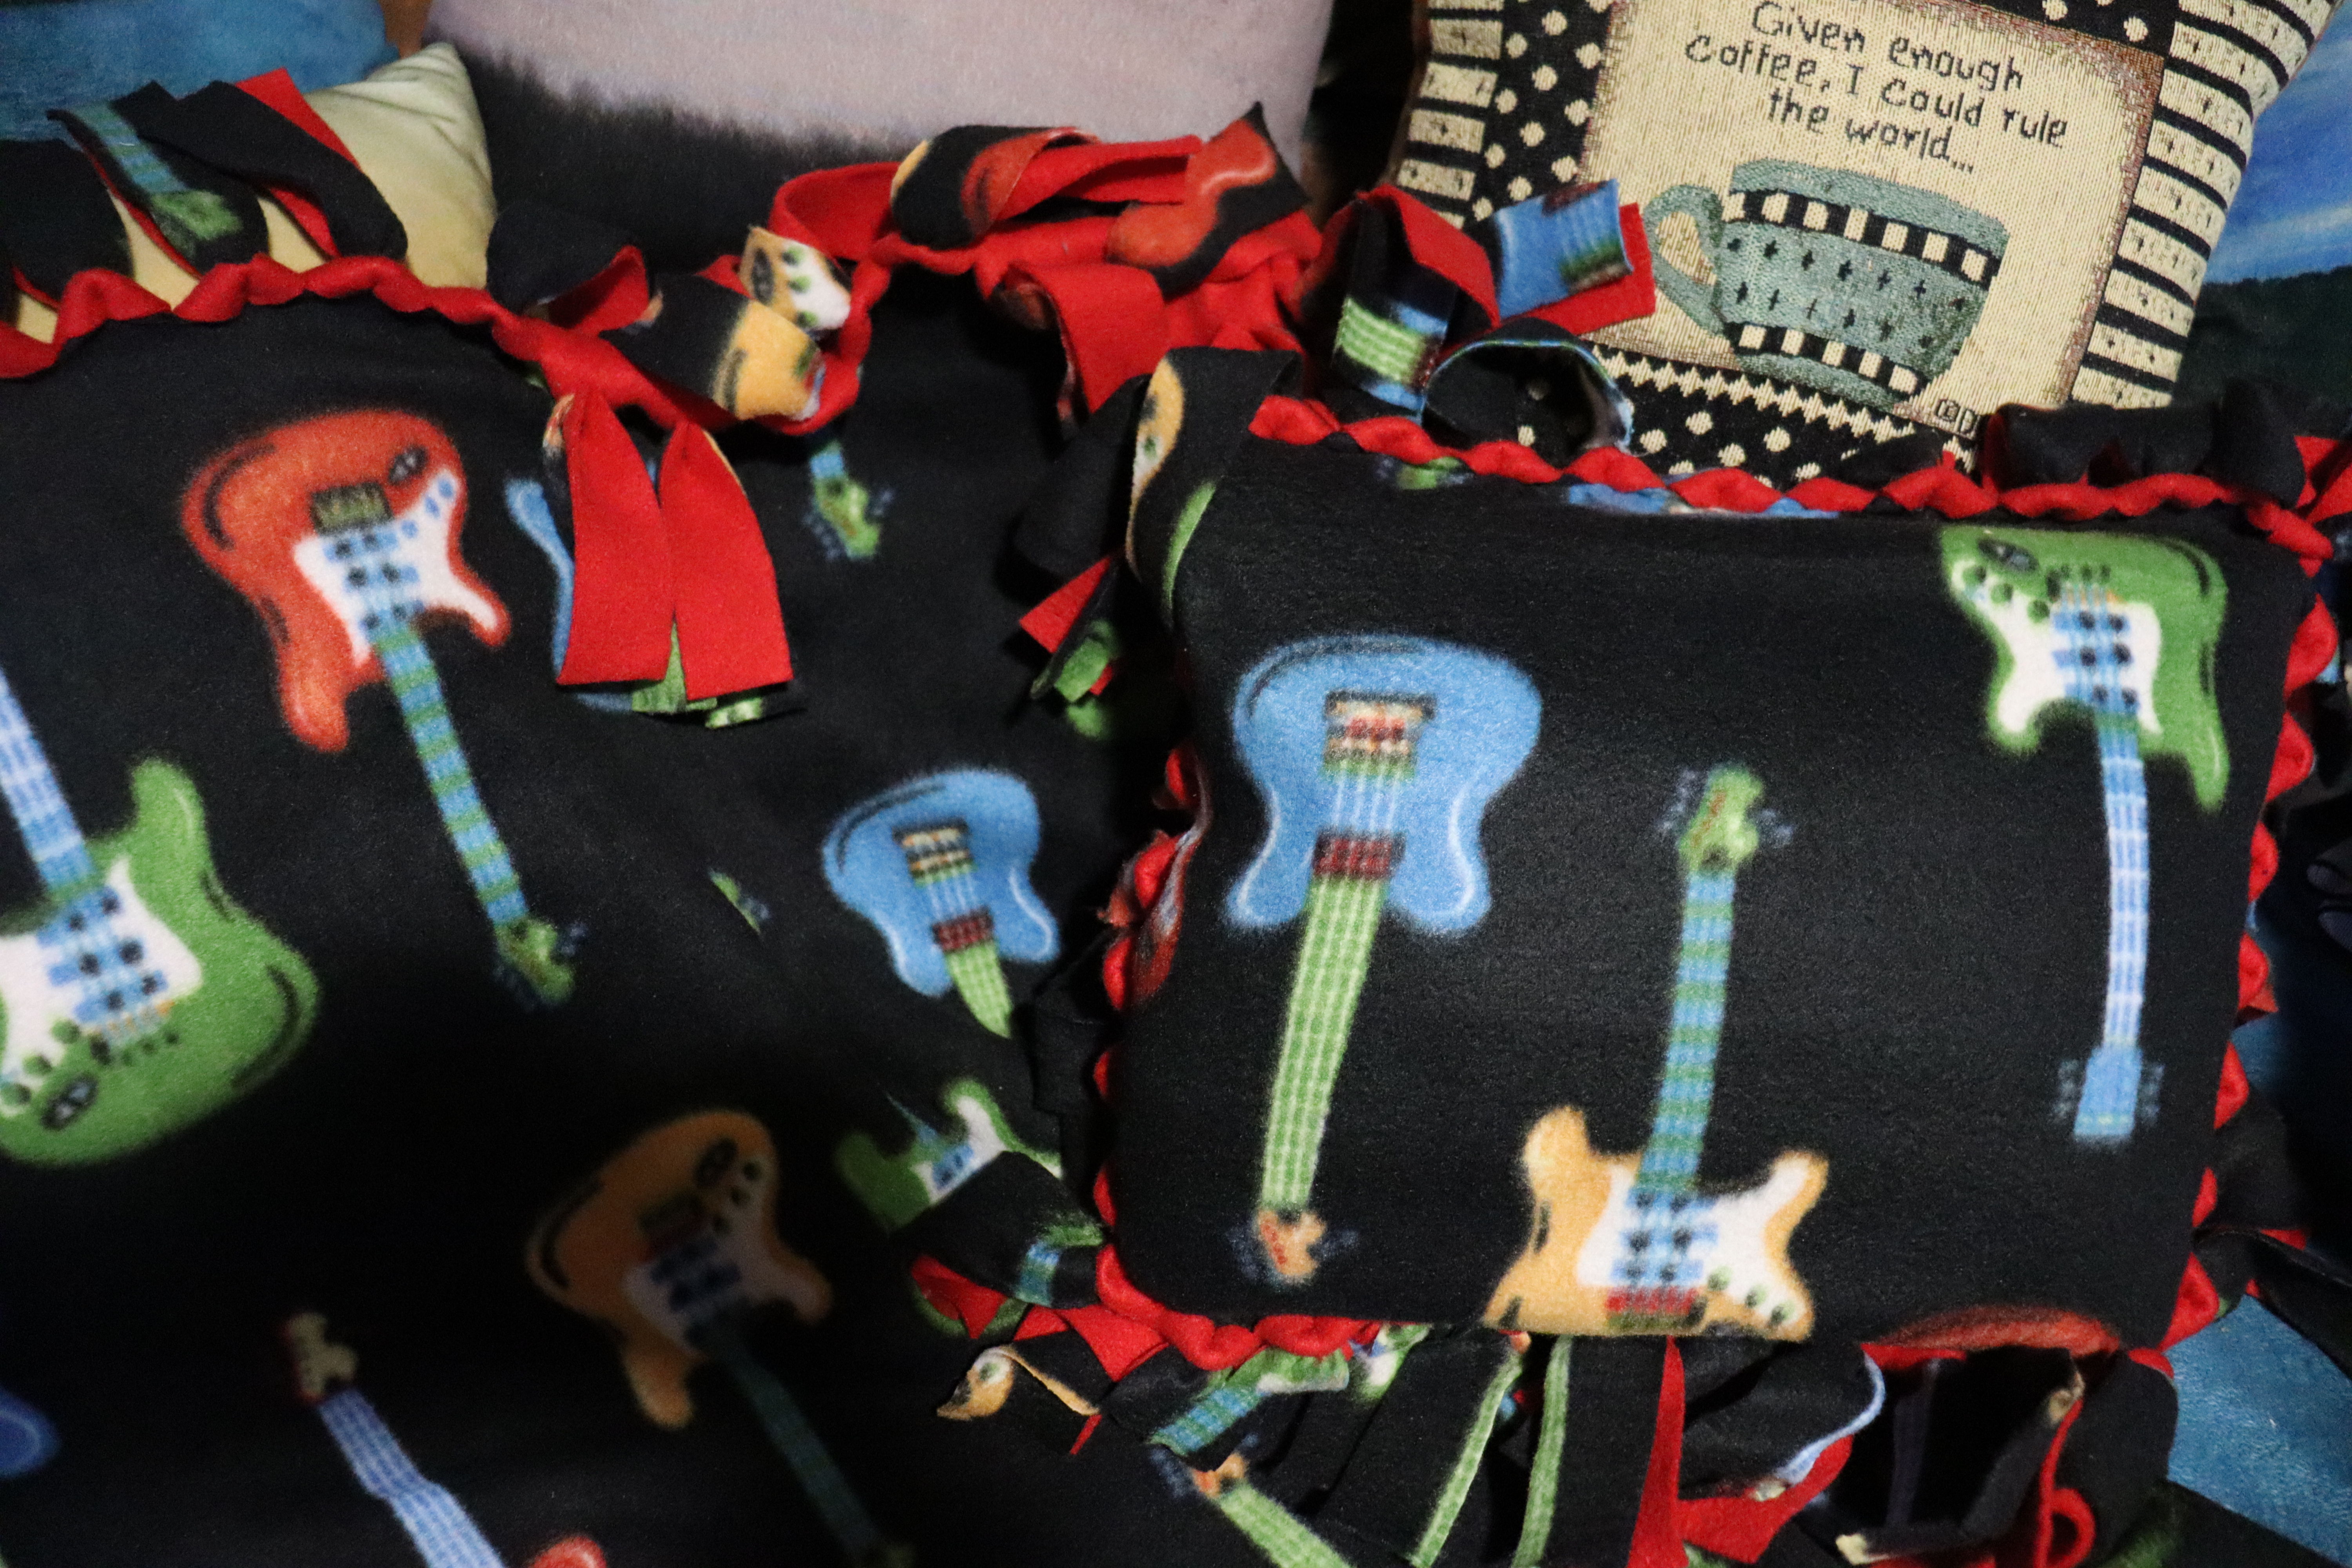
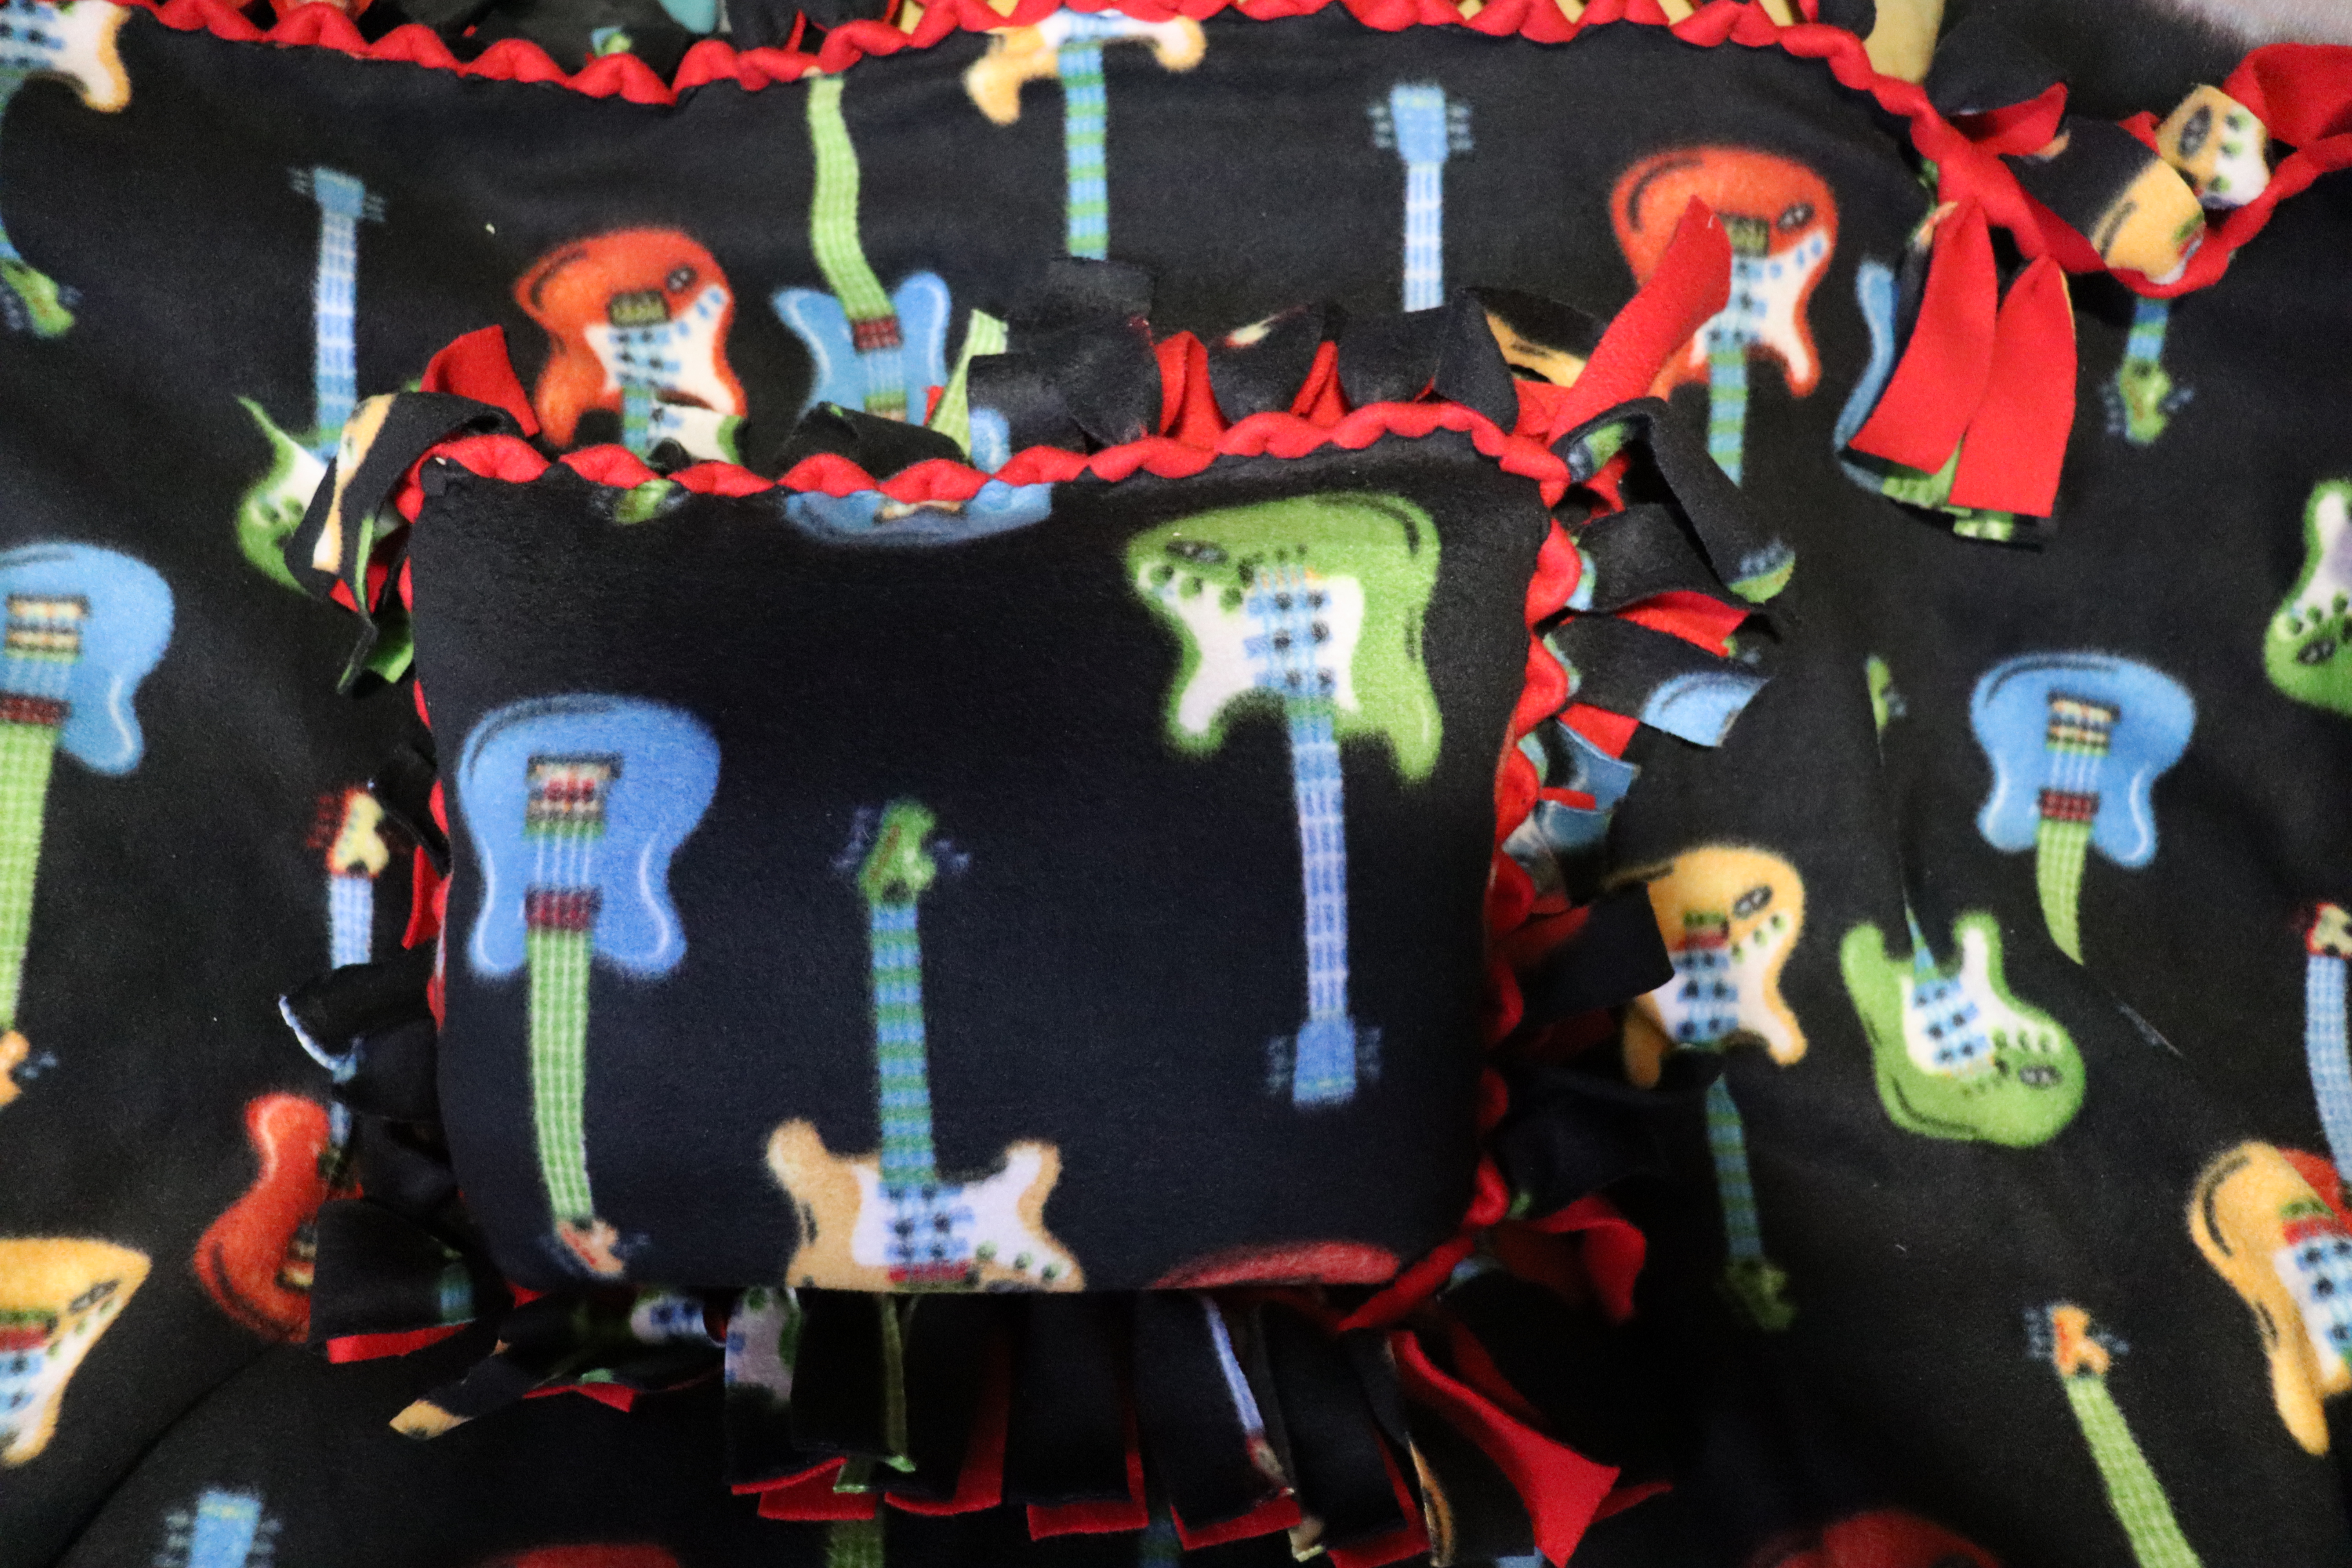
I liked the way this fringe looked on this blanket
I am going to do 3 blankets with 3 different edges and 3 different solid colors.
So I will make this now and see if I can get that to work
First Blanket done.

Decide how big you want the pillow pocket, I usually make mine 1/3 of the width of the blanket. Then add the fringe length the same as the original blanket -5 inches all the way around. so you have two pieces of polar fleece just like your original and cut the corners and and then slit the fringe pieces and then finish the same as your blanket.

There are the tools and fabric laid out on the self-healing mat.

Next I am doing a pillow to use as a pillow pocket to fold the blanket into or put your feet in...So I am making a 20 x 20 pillow pocket to fold it into. So I added 5" on each side for fringe allowance. I am going to do 3 sides first and then lay it on the blanket to see if that makes sense.-- Too Bulky..so just made a matching small pillow and a bag to put the blanket and pillow in.
1. Sew you need a nice ruler or just use the edge of your fringe cuttin guide with slots. I keep both out.
2. The large ruler is not necessary but then I leave my fringe cutter guide in place and use the ruler for marking other things or as a rotary cutter blade block so all slices stop in alignment.
3. some type of pointed seam ripper for marking and making small slit in the pull through fringe.
4. self-healing mat and rotary cutter.
5. I don't have a large table so I use the fold out cardboard table top to place things on either on my bed or on a small table to give firm support underneath.


Now the next one we will try is the Gold Solid with the Braided edge

Comments
Post a Comment