Meetup 1-New Day New Looks Beginner Wardrobes-Rockville Sewing Ideas for You- Meetup Group 1-Online
The First Meetup Review- Easy one piece pants
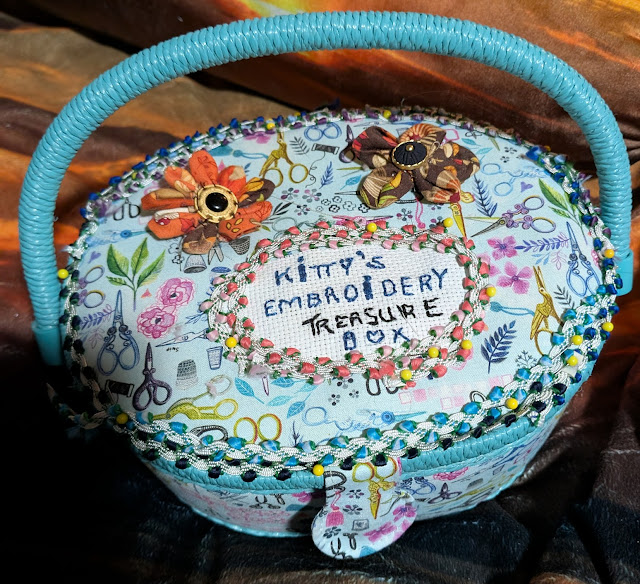
First Let's get Familiar with Kittys Schedule:
I get home from work about 8-8:30pm collapse or eat drink coffee and blog.
Most often, if I cut out one thing from a pattern, I will cut 3 out at a time by pinning the 3 fabrics on top of each other and cutting through all three at once.
If I am quilting, I use an Accuquilt cutter, so I can get the cutting done faster and have more pieces done.
You don't have to do these things, but I want you to understand what I am doing and I don't talk on the phone. From a young age, I noticed the women that did all that talking on the phone, never got anything done. Whatever makes you happy! I feel good about myself when I produce something. I also like to make my gifts, and that makes me happy.
Almost everyday, I wear a different outfit that is simple, but goes together, that I have made the night before or the weekend before.
.JPG)

I kayak, and Pedalboard, whenever I can on my days off.


First Meetup-Easy elastic waist pants 1 pattern piece

We used a pattern like this, I make them to the ankles, and it just uses One Pattern Piece
First, the purpose of this session is to be able to make a pair of pants with no fear.
Measure your waist. Measure your length from waist to where you want your pants to end. Measure your hips. (the widest part of your width about 8-9 inches below your waist.) These measures will help you pick a pattern size, and also help you adjust a pattern if you need.
If you have a pair of pants that you like the fit, you can take a string and hold it from your waist in the front to the center seam where it meets at your crotch-front measure curve. Then do the same in the back to the seam where it meets. This will make it easier to determine the fit of the pants. When you lay that string on the curve of your pattern piece, you can then tell if it needs adjusting.
These pants will have an elastic waist. You will need a piece of elastic, non roll if you have a problem with your waistbands folding over in your elastic waist pants. Non Roll elastic is the elastic that has a vertical ribbing going up and down on the elastic, so it is a little stiffer that just plain spandex elastic. You can use either for these pants, whatever your preference. Your waist length piece of elastic. You are going to be sewing a circle that is the width of your waist but a little smaller so it will hold your pants up. In sewing we use a lot of LOGIC. Just think things through-Why do we do what we are doing. We are going to sew the circle of the elastic so that is done and we don't have to thread it through the pants waist. We are just going to fold the waistband top of the pants over the circle you have made with the elastic-then we will topstitch it over the elastic band. It makes your pants quicker to make.
I use a little bigger stitch when sewing on stretch knits*3 instead of 2.5. I finish my seams once I have figured the pattern out by using a 1/4 inch seam and using a zigzag very close narrow satin stitch on the edge after sewing the seam or any overcast stitch that will finish the edge. I do not have a serger. Some people love them. I sew very fast with a regular old sewing machine. The sewing machines are on sale at GStreet until the end of August. There are all levels of sewing machines on sale. Many have built in Embroidery stitches so you can get fancy later.

There is a Front side and a Back side... the front is the shorter side crotch and the back is bigger because usually your caboose is bigger.

The fabric is folded over and usually you use a stretchy fabric which is usually 60 inches wide. You piece is laid on top and you cut the fabric through the two pieces and you will have a right and left leg.

put a string from 1inch and 1/4 below top on the front crotch of the pattern and then put that string on your body, they should be the same length. If not you need to adjust the length of the pattern crotch. DO the same with the back.
Measure your hips at whatever point they are the widest and add whatever space you want in the pants. Measure the distance from your waist to the widest point at your hips and then compare the same point on the pattern piece. If you need to cut a different line on the pants to give you room, mark that point. That is the line you are going to cut on.
If you want the pants to be a little bigger than leggings, just use the larger leg like and make the bottom wide enough to put over your boot tops. If your fabric is not very stretch make the hip size accross bigger so you can pull the pants up over your hips.

The waist is just the top piece of the fabric folded over and turned under a little bit. I like to make the elastic the size I want around my waist and sew the circle.


Put one leg inside the other and sew the crotch seam

You sew the right leg together right side in and your left leg together right side in and to sew the crotch you put one leg inside the other so that you are sewing the crotch right sides together. Pull the leg out after you have sewn the crotch. Put the elastic circle over the top of the pants and turn the fabric over the circle. Turn the edge under so your waistband on the inside has a finished edge. Leave a little opening instead of sewing all the way around-about an inch opening is big enough, so if later you need to make the elastic tighter, you can pull it through the hole and stitch it, 😁 or pull it through the hole and add a piece of elastic to make it a little bigger😁😁😁


Here is where you put the elastic over the top of the pants and turn it over and under and top stitch. Try them on and make the mark where you want the pants to end. If you can turn it under at the bottom 1/2 inch twice, then topstitch and you have your perfect pants.

My pants last forever 💖

Comments
Post a Comment