Time to make things for gifts
Themed Tote Bags
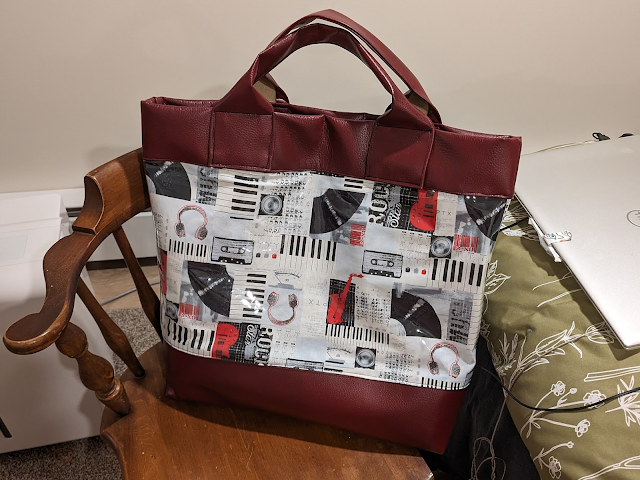
Steps to make a bag like this.
Takes 1/2 yard of themed printed fabric.
1/2 yard of light weight clear plastic. You can use the heavier weight if you really want to. I just use the clear plastic to make the whole tote wipe clean, so It doesn't have to be heavy weight.
3/4 yard of vinyl. You can use anything, but again, I like the wipe clean for this kind of tote. You can carry anything in it, groceries, wipe out, carry shopping items, wipe out, carry papers, and momentos. Or you can use them just to store different things, for organization.
1.
You take your half yard of printed fabric and lay the half yard of clear plastic over it and stitch around it so that the two pieces are just one piece of print with the clear sheet on top of it. sewing about 1/4 in alround the rectangle (you have cut the printed fabric up the fold, so you have two rectangles-front and back)

2.
You cut a piece of the vinyl so that it is on the bottom or in the middle of the two printed fabric pieces, so when you fold it in half, it will be the bottom of the bag.
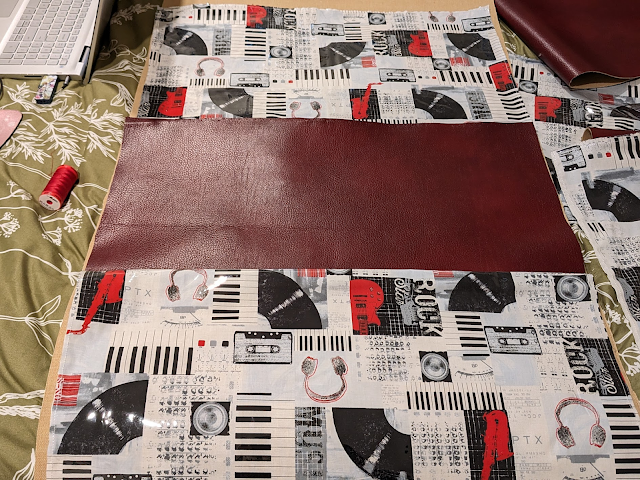
I laid the fabric covered with clear plastic - clear side on to right side of the vinyl, sewed right sides together open up when sewn together and then top stitched along the printed side giving it a nice topstitched edge and flattening it.
3.

cut the vinyl piece that will be the inside lining of the bag the length and width of the other piece plus enough so that when it is the inside lining you can fold it over the top edge, and it becomes the top trim all around.
4. You are making two bags, the outside of your bag and then the lining of your bag. When made you will put the lining bag inside and fold the top edge over.

The banding width and the bottom width of vinyl can be whatever you choose. I like the vinyl that looks like leather.
5.

The handles can be as wide as you want. In this case I took the strips of vinyl and folded they in about a quarter to 3/8 inch and top stitched for design, and the laid them on the top banding to make the handles open up to top stitch a square onto the band width.


Then when topsitched onto the bag, it would have strength.

The holding part of the handle is folded in and topstitched so the widthe is a nice strong topsitched double fold and feels good to hold.

6.
You topstitch these 2 handles all the way up to handle double fold and then top stitch the handle where it is folded to make the hand holding part. Then they are ready to top stitch onto the bag. Matching where both handles are attached so when you grab the two handles together they are in the same place.
7. I pin them on so they are in the right places and then top stitch over the same square that is on the handle through the banding at the top of the bag. This will be 4 squares for you to top stitch.

8.
You can topstitch a square if you want over the already sewn topstitch line of the handle, or you can do a square and then a large X in the center from corner to corner for added strength besides giving the topstitching a little different design.

Here is some different designs you can try if you want something different....click link to go to my tote blog.

Kayaking bag... must take water..so water bottle pocket- wipe clean with clear plastic over my kayaking fabric, and a batik inside with clear plastic over it... trim handles and water bottle holder out of snakeskin.


Otherwise where would you put your alphabet when you sing the alphabet song?

A bag to carry your minky quilted quillow in and pillow

A bag to carry your animals in when you want to lay them around you and talk to them.


Insulated grocery bag.

Comments
Post a Comment